Chocolate Cake | Call Me by Your Name
When I looked at my dessert plate and saw the chocolate plate speckled with raspberry juice, it seemed to me that someone was pouring more and more red sauce than usual, and that the sauce seemed to be coming from the ceiling above my head until it suddenly hit me that it was steaming from my nose.Call Me by Your NameAndré Aciman
When I looked at my dessert plate and saw the chocolate plate speckled with raspberry juice, it seemed to me that someone was pouring more and more red sauce than usual, and that the sauce seemed to be coming from the ceiling above my head until it suddenly hit me that it was steaming from my nose.
Call Me by Your Name
André Aciman
Spring is filling the air recently, the days are getting warmer and I've been setting up picnic blankets in the front yard during the past week - spending hours outside with my work computer and notes, soaking up the warmth. It may just be the stricter restrictions that the city has been living with in the past month, but the urge to move to a tiny cottage with chickens, a vegetable garden and somewhere to pick wild mushrooms has been rising a lot.
As picturesque as the above could be, I would miss the streets of Melbourne immeasurably I am sure. I'm contenting myself with ordering seeds and herbs from stores, planting an array of vegetables in pots and containers that line the kitchen table.

I picked up Call Me by Your Name again recently, someone at work mentioned wanting to read more so we've begun a tiny book club, something to keep him more accountable of having reading goals. The first on his list was Call Me by Your Name - the perfect excuse to do a re-read. There is no better time to read this book than spring I think - the words within the pages make me want to spend a spring and summer in Italy, picking fruit from trees and running barefoot around the grass. I'll have to make do with the flourless chocolate cake and raspberry coulis below, a dense, incredible cake that honestly took so many tries to get right. Most flourless chocolate cake recipes require 4 - 8 eggs, and the vegan versions I found had avocado, silken tofu and other substitutes that just don't sound that appealing. Chickpea flour worked a treat though - keeping the dense texture of the cake, but ensuring that it would not fall apart.
*Note: this recipe needs a strong binder since it's flourless - chickpea flour works quite well. But if you do eat eggs, you can remove the chickpea flour and instead replace it with 4 eggs.
Chocolate Cake and Raspberry Coulis
Ingredients
Cake
200g almond meal
2 tbsp cocoa, sifted
150g caster sugar
100ml milk
1 tbsp apple cider vinegar
1 tsp bi-carb soda
9 tbsp chickpea flour *see note
9 tbsp water
1 tsp vanilla extract
200g butter
180g dark chocolate, chopped
30 ml coffee liquor or coffee
Raspberry Coulis
150g raspberries, if using frozen leave the water out of the recipe
60g caster sugar
30ml water
Juice of one lemon
Cake
Preheat your oven to 160C and prepare a springform tin, grease it well and layer with baking paper.
Combine the chickpea flour and water together, stir well. It should become quite thick - you don't want it too watery. Put it to the side for now.
Combine the butter, dark chocolate, cocoa and coffee or coffee liquor in a sauce pan and heat on a medium heat. Stir as it melts so it all becomes combined into a smooth mixture and add in the vanilla. Put to the side to cool.
Mix the apple cider vinegar and milk together and place to the side to let it curdle into buttermilk.
Combine the almond meal, bi-carb and sugar together in a large bowl and add in the melted chocolate mixture, the chickpea and water mix, and the buttermilk. Stir well - you don't want lumps of the chickpea mix to remain solid in the batter.
Pour the batter into the prepared tin and bake for 60 - 70 minutes. Check on it frequently - if you're not using eggs, under baking this cake runs the risk of it collapsing and not holding together properly.
Test to see if it's ready by inserting a skewer, if wet batter comes out it's not done. When it has cooked, let it cool completely before removing from the pan.
Coulis
Combine all the ingredients into a saucepan and heat over a low heat. Cook for around 10 - 20 minutes or until the raspberries begin to mush together into a sauce and the sugar has dissolved.
Once done, cool in the fridge and it will thicken. I like my sauce with the seeds and whatnot in it, but you can strain it out if you want a smooth sauce.
Serve with the cake and enjoy!
Madeleines | The Essex Serpent
Charles commanded an awestruck girl in a white apron to bring at least a dozen of the cakes she personally liked best, and a gallon of tea. She evidently favoured coconut: there were macaroons, and speckled shortbread, and lozenges of cake doused in raspberry jam and rolled in coconut flakes. Cora, who'd walked several miles that morning, placidly ate her way towards a centrepiece of madeleines.The Essex SerpentSarah Perry
Charles commanded an awestruck girl in a white apron to bring at least a dozen of the cakes she personally liked best, and a gallon of tea. She evidently favoured coconut: there were macaroons, and speckled shortbread, and lozenges of cake doused in raspberry jam and rolled in coconut flakes. Cora, who'd walked several miles that morning, placidly ate her way towards a centrepiece of madeleines.
The Essex Serpent
Sarah Perry
I think Melbourne going into much stricter restrictions recently has driven my reading habits much more towards that of the Victoria era. I've been rushing through numerous Jane Austen's and Brontes', savouring the descriptions of the dreary moors or the spring time in country sides that seem very out of reach to myself at the moment.
The Essex Serpent was a great addition to add to the wistful dreaming. A town by the ocean, with numerous occupants and an overarching mystery of the serpent that hunts them, mixed in with a wistful romance and longing from afar? Perfect.
When I am finally allowed to take in the outside again, and spend more than just an allotted hour getting exercise, I have numerous plans of how I will spend my days. Trips to local museums, picnics in parks and a visit to the coast. The below recipe of madeleines is bound to make an appearance in many of the upcoming picnics.
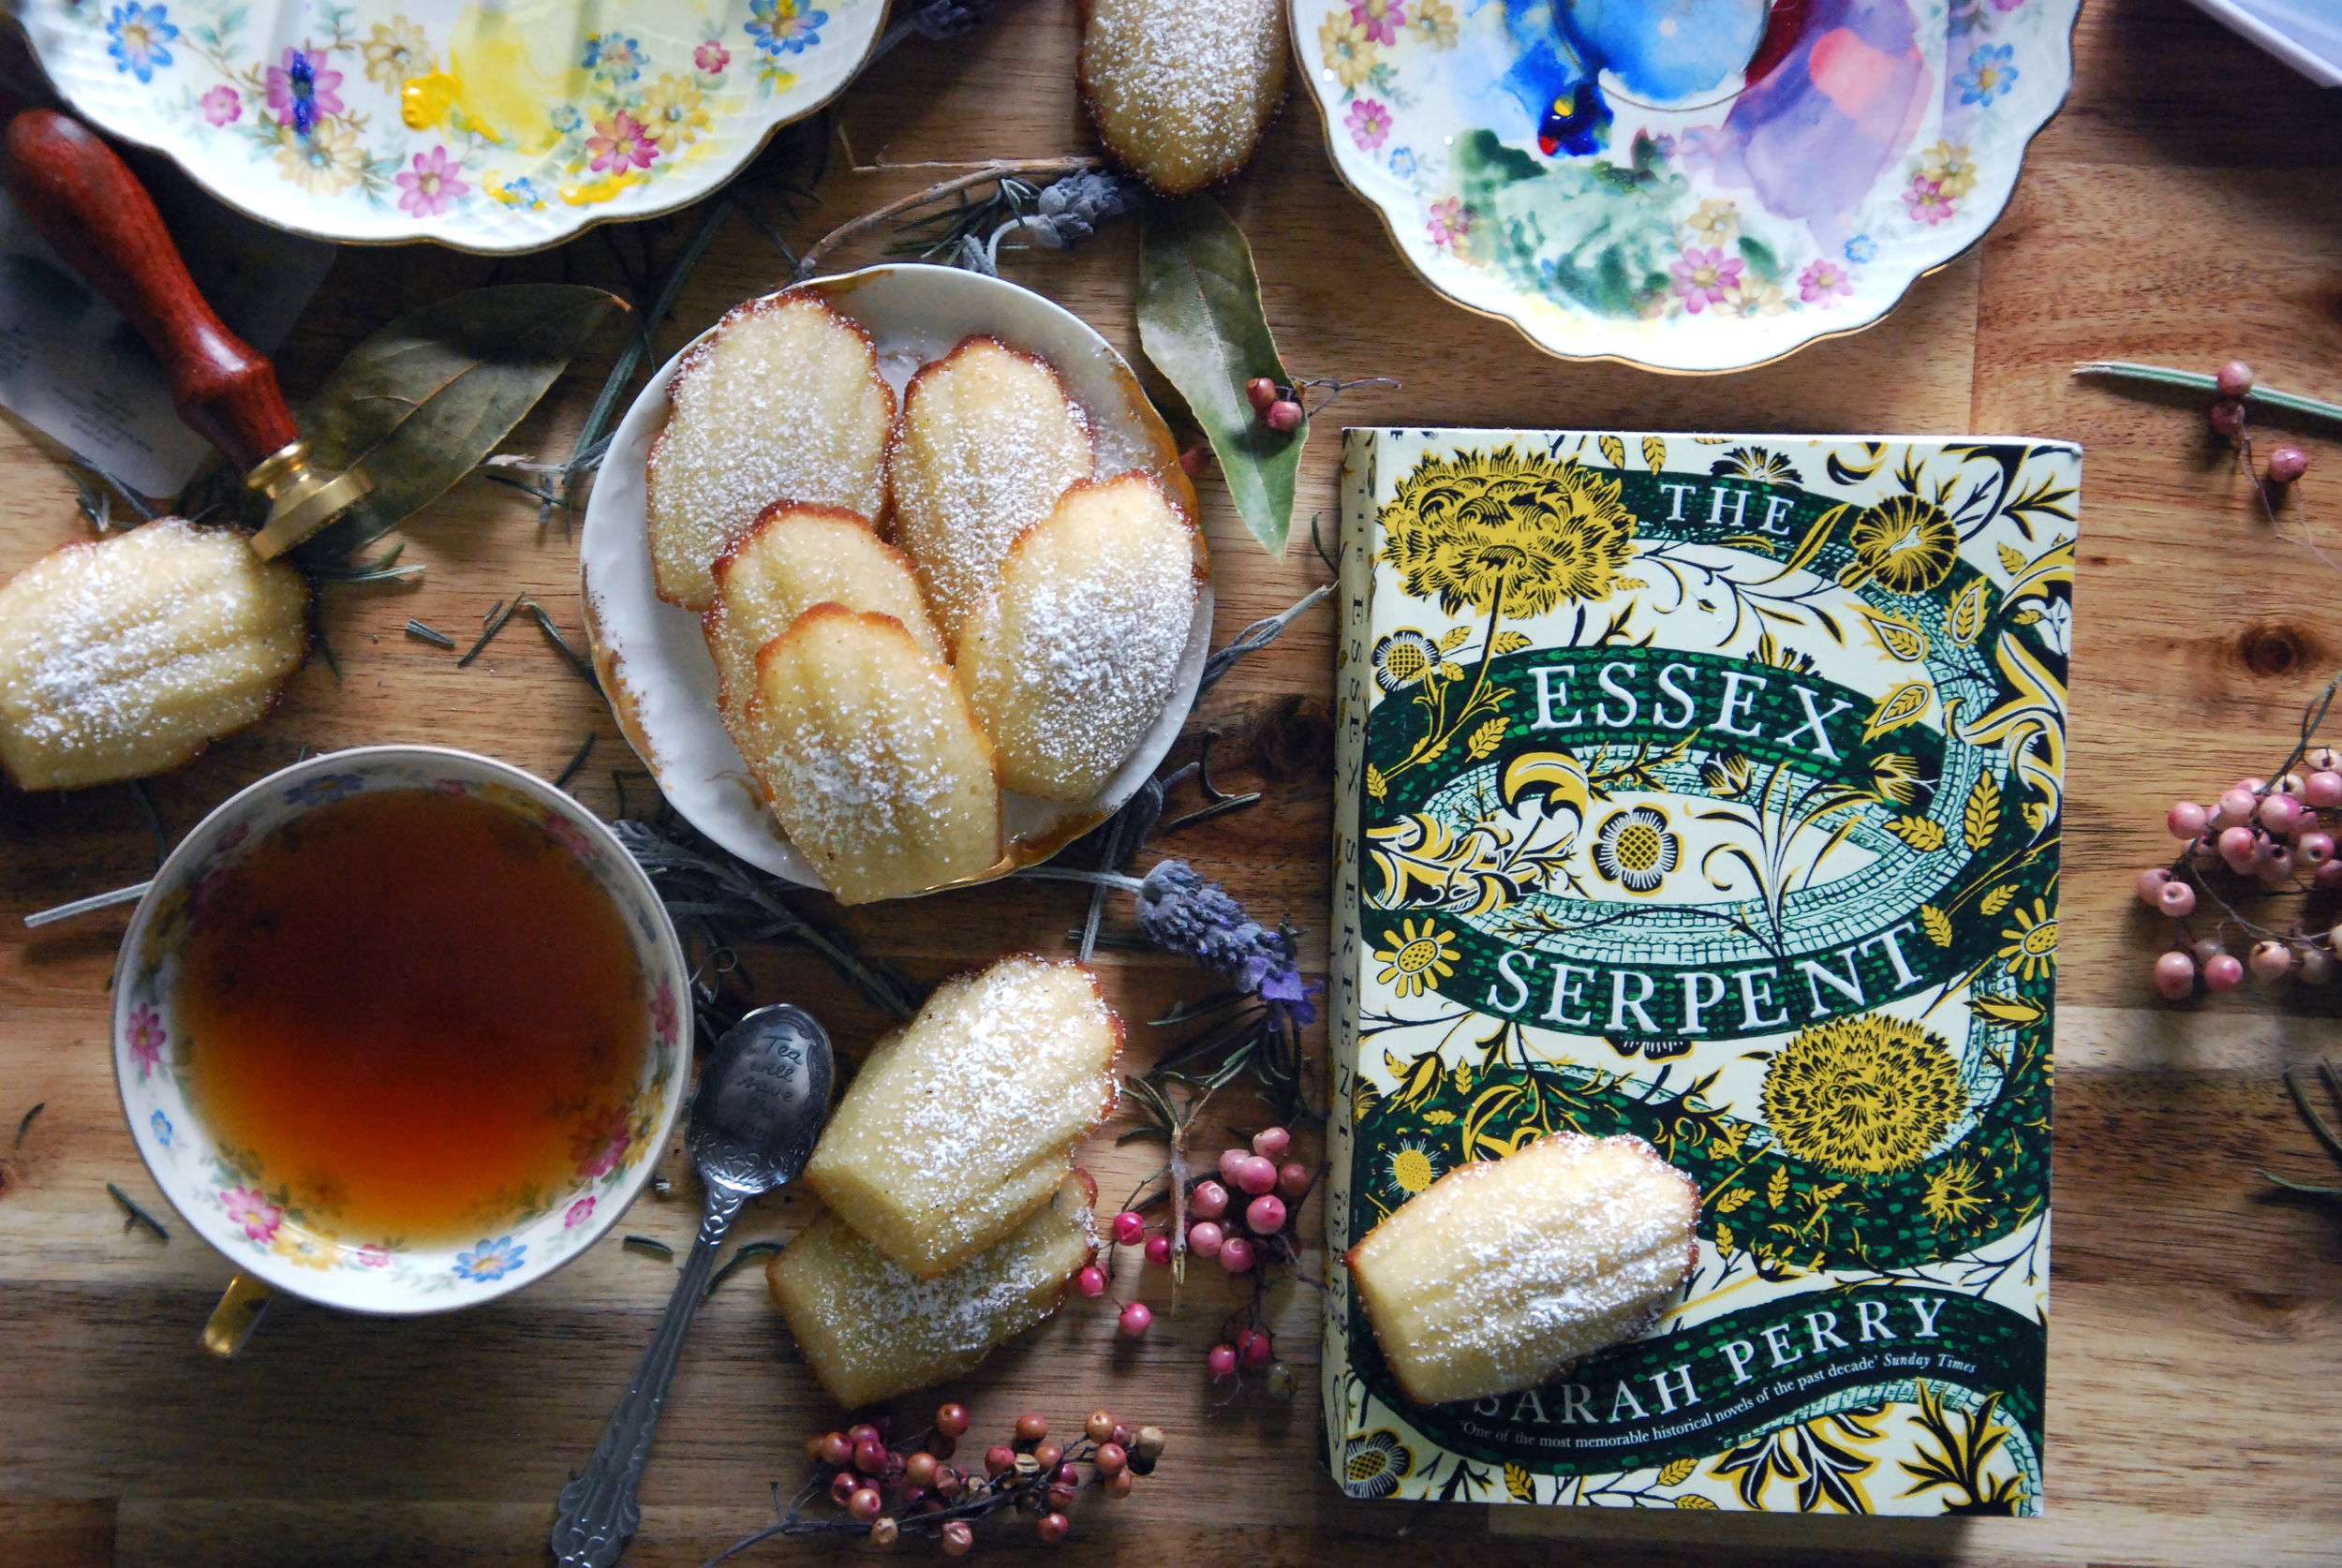
Years ago, I worked at a small cafe that made all their cakes and pastries from scratch in the kitchen, I have memories of serving up delicate madeleines on floral china with cups of tea, wondering what the appeal in the tiny cakes was exactly. Now having made them - I get it. They're so good. I think my household cleared the two batches I made in one weekend within a few hours, inhaling one after another with alternating cups of tea and coffee.
*Note: aquafaba is the liquid from a can of chickpeas - it's a good replacement for egg whites. I've made this recipe with and without it - and honestly it's fine without it as well, they still turned out great. But adding it in does make the mixture more airy and light.
Madeleines
Makes approx 18 - 20
Ingredients
120g butter, melted and at room temp
1 tbsp aquafaba *see note
100g caster sugar
90ml milk
1 lemon, zested and juiced
1 tsp vanilla extract
135g plain flour, sifted
1 tsp bi-carb soda
Sea salt
Icing sugar, to garnish after baking
Combine the juice of the lemon and the milk together, mix and let sit for around 5 minutes or until it curdles.
In the bowl of stand mixer (or if you have very strong arms and a good whisk, any bowl you want) combine the sugar, aquafaba and curdled milk, beat for around 8 - 10 minutes until well combined. Add in the vanilla extract and the lemon zest and mix till combined.
Remove from the mixer ad gently fold in the sifted flour, bi-carb soda and salt. Do it bit by bit, so the mixture stays slightly fluffy.
Slowly pour in the melted butter, it will take a bit to work it into the mixture but once you have it should be thick and shiny. Place the batter into the fridge for about half an hour.
Five minutes before the batter comes out of the fridge preheat your oven to 180C and prepare your madeleine tray/s, greasing with a little extra melted butter.
The batter from the fridge should be slightly sponge like, leave it like this and do not mix it. Use a table spoon to place a scoop of the mixture into each of the moulds on the tray, don't worry about smoothing it out - it will do so in the oven.
Bake for around 10 - 15 minutes, checking on them every few minutes. The edges should be slightly more browned than the middle but if you leave them too long the edges will burn and become quite crunchy.
When they're ready, remove them from the oven and turn the tray out onto a cooling rack - the madeleines should fall out easily.
Dust with icing sugar and enjoy with a coffee or cup of tea!
Vanilla Layer Cake | Anne of Green Gables
The cake did rise, however, and came out of the oven as light and feathery as golden foam. Anne, flushed with delight, clapped it together with layers of ruby jelly, and, in imagination, saw Mrs Allan eating it and possibly asking for another piece!Anne of Green GablesL.M Montgomery
The cake did rise, however, and came out of the oven as light and feathery as golden foam. Anne, flushed with delight, clapped it together with layers of ruby jelly, and, in imagination, saw Mrs Allan eating it and possibly asking for another piece!
Anne of Green Gables
L.M Montgomery
I dived into Anne of Green Gables for the (what I thought) first time recently - I found a very scraggly copy at a local bookstores sale and had the price knocked down to a mere $2 based on the fact that the back few pages had basically been cut off. The further I got into it's pages, the more familiar it seemed and I realised that I had actually read this book before. It must have been when I was quite young, young enough to have no solid memory but enough that small pieces came back to me the further in I read.

Like many children's books, there's an abundance of cosiness and quaintness throughout the pages, bringing forth images of cottages, spring time and, of course, baking. I tried my hand at the cake Anne so desperately wants to impress Mrs Allan with, an attempt that fails when she accidentally replaces the necessary vanilla with medicine instead. This cake is luckily fluffy, delicious and very full of vanilla.
Though don't make my mistake and bake is during a quarantine as you will be forced to either eat it all yourself, or force it onto a roommate or partner.
Vanilla Layer Cake
Ingredients
Cake
2 tbsp apple cider vinegar
1/4 cups milk
620g plain flour
450g raw caster sugar
1 tbsp baking powder
1 1/2 tsp bi-carb soda
1/4 cup vegetable oil
3 tsp vanilla extract
Pinch sea salt
Frosting
100g vegetable shortening, softened
250g butter, softened
500g icing sugar
1 tsp vanilla extract
Pinch sea salt
Jam of your choice
Preheat oven to 180C, and prepare three 8” cake tins - greasing the sides and bottoms well. I recommend putting a circle of baking paper at the bottom as well, it’ll help get them out better.
Combine the vinegar and milk and let it sit to the side to curdle - will take about five minutes or so. If it gets a bit chunky - perfect!
Combine the flour, baking power bi-carb soda, sugar and salt together in a large mixing bowl.
Add the oil and vanilla extract to the vinegar and milk and add to the mixed dry ingredients. Mix until everything is combined but make sure not to over-mix.
Divide the batter between the three prepared tins and bake for about 30 - 35 minutes or until the tops are golden and a skewer inserted int he middle comes out clean.
Remove from the oven and leave to cool for about ten minutes before removing the cakes from the tins. Turn them out onto a cooling rack and wait till they are completed cooled before frosting. You can pop them in the fridge to rush the process along a little if needed.
While the cakes cooling - prepare the frosting. Combine the shortening and butter in the bowl of a mixer and cream until fluffy.
Add in the vanilla, salt before gradually adding in the icing sugar a little at a time until it has all combined. It should be fluffy and easy to spread.
Sandwich the three cake layers together with a good layer of the jam and frosting between - depending how skilled you are at cake frosting, either decorate the sides of the cake or have it as is! Either way will be delicious, and I guarantee even if this cake isn’t the prettiest at the end, it will still be delicious.
Enjoy!
Devonshire Splits | The Little White Horse
Plum cake. Saffron cake. Cherry cake. iced fairy cakes. Eclairs. Gingerbread. Meringues. Syllabub. Almond fingers. Rock cakes. Chocolate drops. Parkin. Cream horns. Devonshire splits. Cornish pasty. Jam sandwiches. Lemon-curd sandwiches. Lettuce sandwiches. Cinnamon toast. Honey toast...The Little White HorseElizabeth Goudge
Plum cake. Saffron cake. Cherry cake. iced fairy cakes. Eclairs. Gingerbread. Meringues. Syllabub. Almond fingers. Rock cakes. Chocolate drops. Parkin. Cream horns. Devonshire splits. Cornish pasty. Jam sandwiches. Lemon-curd sandwiches. Lettuce sandwiches. Cinnamon toast. Honey toast...
The Little White Horse
Elizabeth Goudge
I went to my first proper high tea recently, killing time in Sydney after the Mardi Gras parade and waiting till we could head back to the airport. Our group headed to a quite fancy looking tea room, that just so happened to offer vegan options with all their menu items. We spent two hours drinking endless cups of earl grey, eating delicate sandwiches and gorging ourselves on scones with coconut cream and jam. Though I do quite earnestly defend Melbourne as a much more liveable city than Sydney, I do have to admit the inclusion of a vegan high tea and an entirely vegan yum cha restaurant did win me over slightly. Unfortunately there is no vegan yum cha that I've found yet in Melbourne, but there appears to be at least a a few places that offer a vegan high tea.

I had just finished a re-read of Elizabeth Goudge's, when my mind started wondering back to the thought of high teas, but, mainly that tiny sandwiches are close to the best food in the world. The afternoon tea that Marmaduke Scarlet dreams of, before making a reality, is one of every child's (and probably some adults) dreams. Only one item made me wonder though and do a subsequent Google search. Devonshire Splits, something I had never heard of or seen before. After having made them - yum. I see why they could be a favourite during a high tea.
*Note: I used whipped coconut cream for this. If you want to d the same, make sure you use full fat coconut cream and chill the can in the fridge for at least 12 hours before hand, scooping off the solidified cream on the top to whip up, making sure you don't get any of the liquid mixed in.
Devonshire Splits
Makes approx. 15 buns
IngredientsBuns
530g of plain flour
50g of raw caster sugar
2 tsp dry yeast
85g of butter
180ml milk + 1 tbsp extra for glazing
180ml warm water
Pinch of sea salt
Filling
Jam, you can use store bought or if you want to make your own my recipe is here
Whipped cream *see note
Icing sugar, to serve
Combine the butter, milk and water together in a saucepan and heat until the butter has melted, place to the side and leave until it cools. It should still be warm, but not too hot.
In a large bowl mix together the flour, yeast, sugar and salt and add in the warm butter and milk mixture, stirring together until a sticky dough has formed.
On a lightly floured surface knead the dough until smooth, it will take about 10 minutes or so. You don't want to add too much flour into the dough and ruin it during this time, I recommend flouring your hands lightly as well to stop the dough sticking. when the dough is smooth and elastic-like, shape it into a ball and place into a lightly oiled bowl. Cover with cling wrap or a clean tea towel and leave in a warm place for around an hour or until the dough has doubled in size.
When the dough has risen, deflate it by pressing into the middle. Turn it out onto the counter and divide it into 15 equal pieces. Using a clawed hand, roll each piece of dough on the bench beneath your fingers to form a smooth ball.
Place all the shaped buns into a baking tray lined with baking paper and cover again with cling wrap or a clean tea towel, leave to rise again for around another hour.
While the dough is on its second rise, pre-heat the oven to 190C.
Bake the buns for around 15 - 20 minutes each, but keep an eye on them so that they don't overcook. You want them to be golden brown on top, with a hollow sound when lightly tapped. Transfer to a wire rack and leave to cool completely.
Slice the buns about 2/3rds of the way through, placing a generous spoonful of jam into each bun, along with a good serving of whipped cream. Dust with some icing sugar to serve and enjoy with a cup of tea!
Currant Buns | The Tale of Peter Rabbit
Then old Mrs. Rabbit took a basket and her umbrella, and went through the wood to the baker's. She bought a loaf of brown bread and five currant buns.The Tale of Peter RabbitBeatrix Potter
Then old Mrs. Rabbit took a basket and her umbrella, and went through the wood to the baker's. She bought a loaf of brown bread and five currant buns.
The Tale of Peter Rabbit
Beatrix Potter
This year's Easter weekend is slightly different from the rest. It's probably the first one that I haven't had to work, standing behind a bakery counter and selling boxes upon boxes of hot cross buns. Instead I can join the masses that take these four days to relax, visiting family (not so much this year, obviously) and generally spending the time eating countless buns and drinking endless cups of tea.
I used my time stuck at home this year to experiment with making my own hot cross buns, which proved a bit more a challenge considering that everyone in the country seems to have had the same idea this last few weeks and all the yeast in stores had disappeared. After a few days of searching I was able to find a stall at a local market selling fresh yeast, and after using the fresh stuff, I can't believe I ever used dry yeast. I've made so many batches, the last few days have been spent doing nothing but eating buns, reading books and enjoying lounging on the couch.

I did a few variations of hot cross buns these last few days, the below recipe with currants and sultanas, one with sour cherries and chocolate and another with figs and cranberries. I used the hot cross bun recipe from Natalie Paull's cookbook Beatrix Bakes - which is filled with amazing recipes from her cafe Beatrix. A tiny corner shop that I used to frequent far, far too much before I went plant based. I made same alterations to the recipe, leaving out orange (I had none in the house and forget to get any) and the dry milk powder. Having tried her buns before at the cafe, I highly recommend getting a copy of the book here, as there are many more amazing recipes within.
*Note: you can use dry yeast instead of fresh, just follow the measurements of how much to use on the box. Also the mixed spices, you can use whatever you like - I recommend cinnamon, nutmeg, ginger, but just go with whatever you enjoy.
Currant Buns
Makes approx. 12 buns
Ingredients
100g currants, sultanas and cranberries mixed
540g plain flour
60g caster sugar
3 tsp mixed spices *see note
1 tsp sea salt
170ml warm water
20g fresh yeast *see note
70g soft butter
Oil, for brushing pan and dough
Crosses
60g plain flour
1 tsp icing sugar
2 tsp oil
50ml water
Glaze100ml water
100g caster sugar
1 tsp vanilla essence, or one vanilla bean
If you're using the fresh yeast, pop it into a large bowl and add a teaspoon of sugar, smushing it down into the yeast with the back of a spoon - leave for a few minutes and it should turn into a liquid, add in the warm water. If you're using dry yeast - do the same, minus the smushing, and add in the water and leave it to go frothy.
Combine the flour, spices, salt, sugar and add into the yeast mixture - mixing well to form into a dough. Add in the dried fruits as you're mixing the dough. At around this stage it's a good time to remove from the bowl onto a lightly floured surface, kneading to incorporate the fried fruits. You want to knead the dough for around ten minutes or so, until it's smooth - it should still be quite moist at this stage, you don't want it too floury.
Lightly oil a large bowl and place the dough inside, covering with plastic wrap or a clean tea towel and leave in a warm place for an hour or so, or until the dough has doubled in size.
While the dough is rising, it's a good time to make the glaze. Put the water, vanilla and caster sugar into a saucepan and bring to the boil - the longer you cook it, the stickier the glaze will become, so do it as you like. Remove from the heat and leave to cool.
Prepare a baking tray by oiling it lightly, and lining it with baking paper. Depending on the size of your tray you can squish the buns together so they can be pulled apart, or you can have them seperate.
Turn out the raised dough onto a lightly floured surface and press down lightly to deflate it. Split it into twelve even pieces (depending on how big you want your buns) and shape them into a ball by rolling them under your clawed hand on the bench. Place them on the baking tray and cover again with plastic wrap or a clean tea towel and leave for another hour or so, or until the buns have risen again.
Preheat the oven to 190C.
During this time, make the mix for the crosses on top. Combine all the needed ingredients - it's gonna be a bit of a gloopy mix, add more flour or water as you think is necessary and put the flour mixture into a piping bag with either a thin piping tip, or snip the end of the bag off so only a thin line will come out.
Once the buns have risen, pipe the crosses on top - it's easiest to do them all in one row, doing long lines across all buns at once.
Bake for about 15 minutes, but keep an eye on them as they can burn very quickly (as my second batch showed).
Remove and leave on the tray, and spread the prepared glaze over the top of them thickly, ensuring that the tops are covered and nice and shiny.
Enjoy with a spread of a butter and tea!
Chocolate Rum Balls | The Guernsey Literary and Potato Peel Pie Society
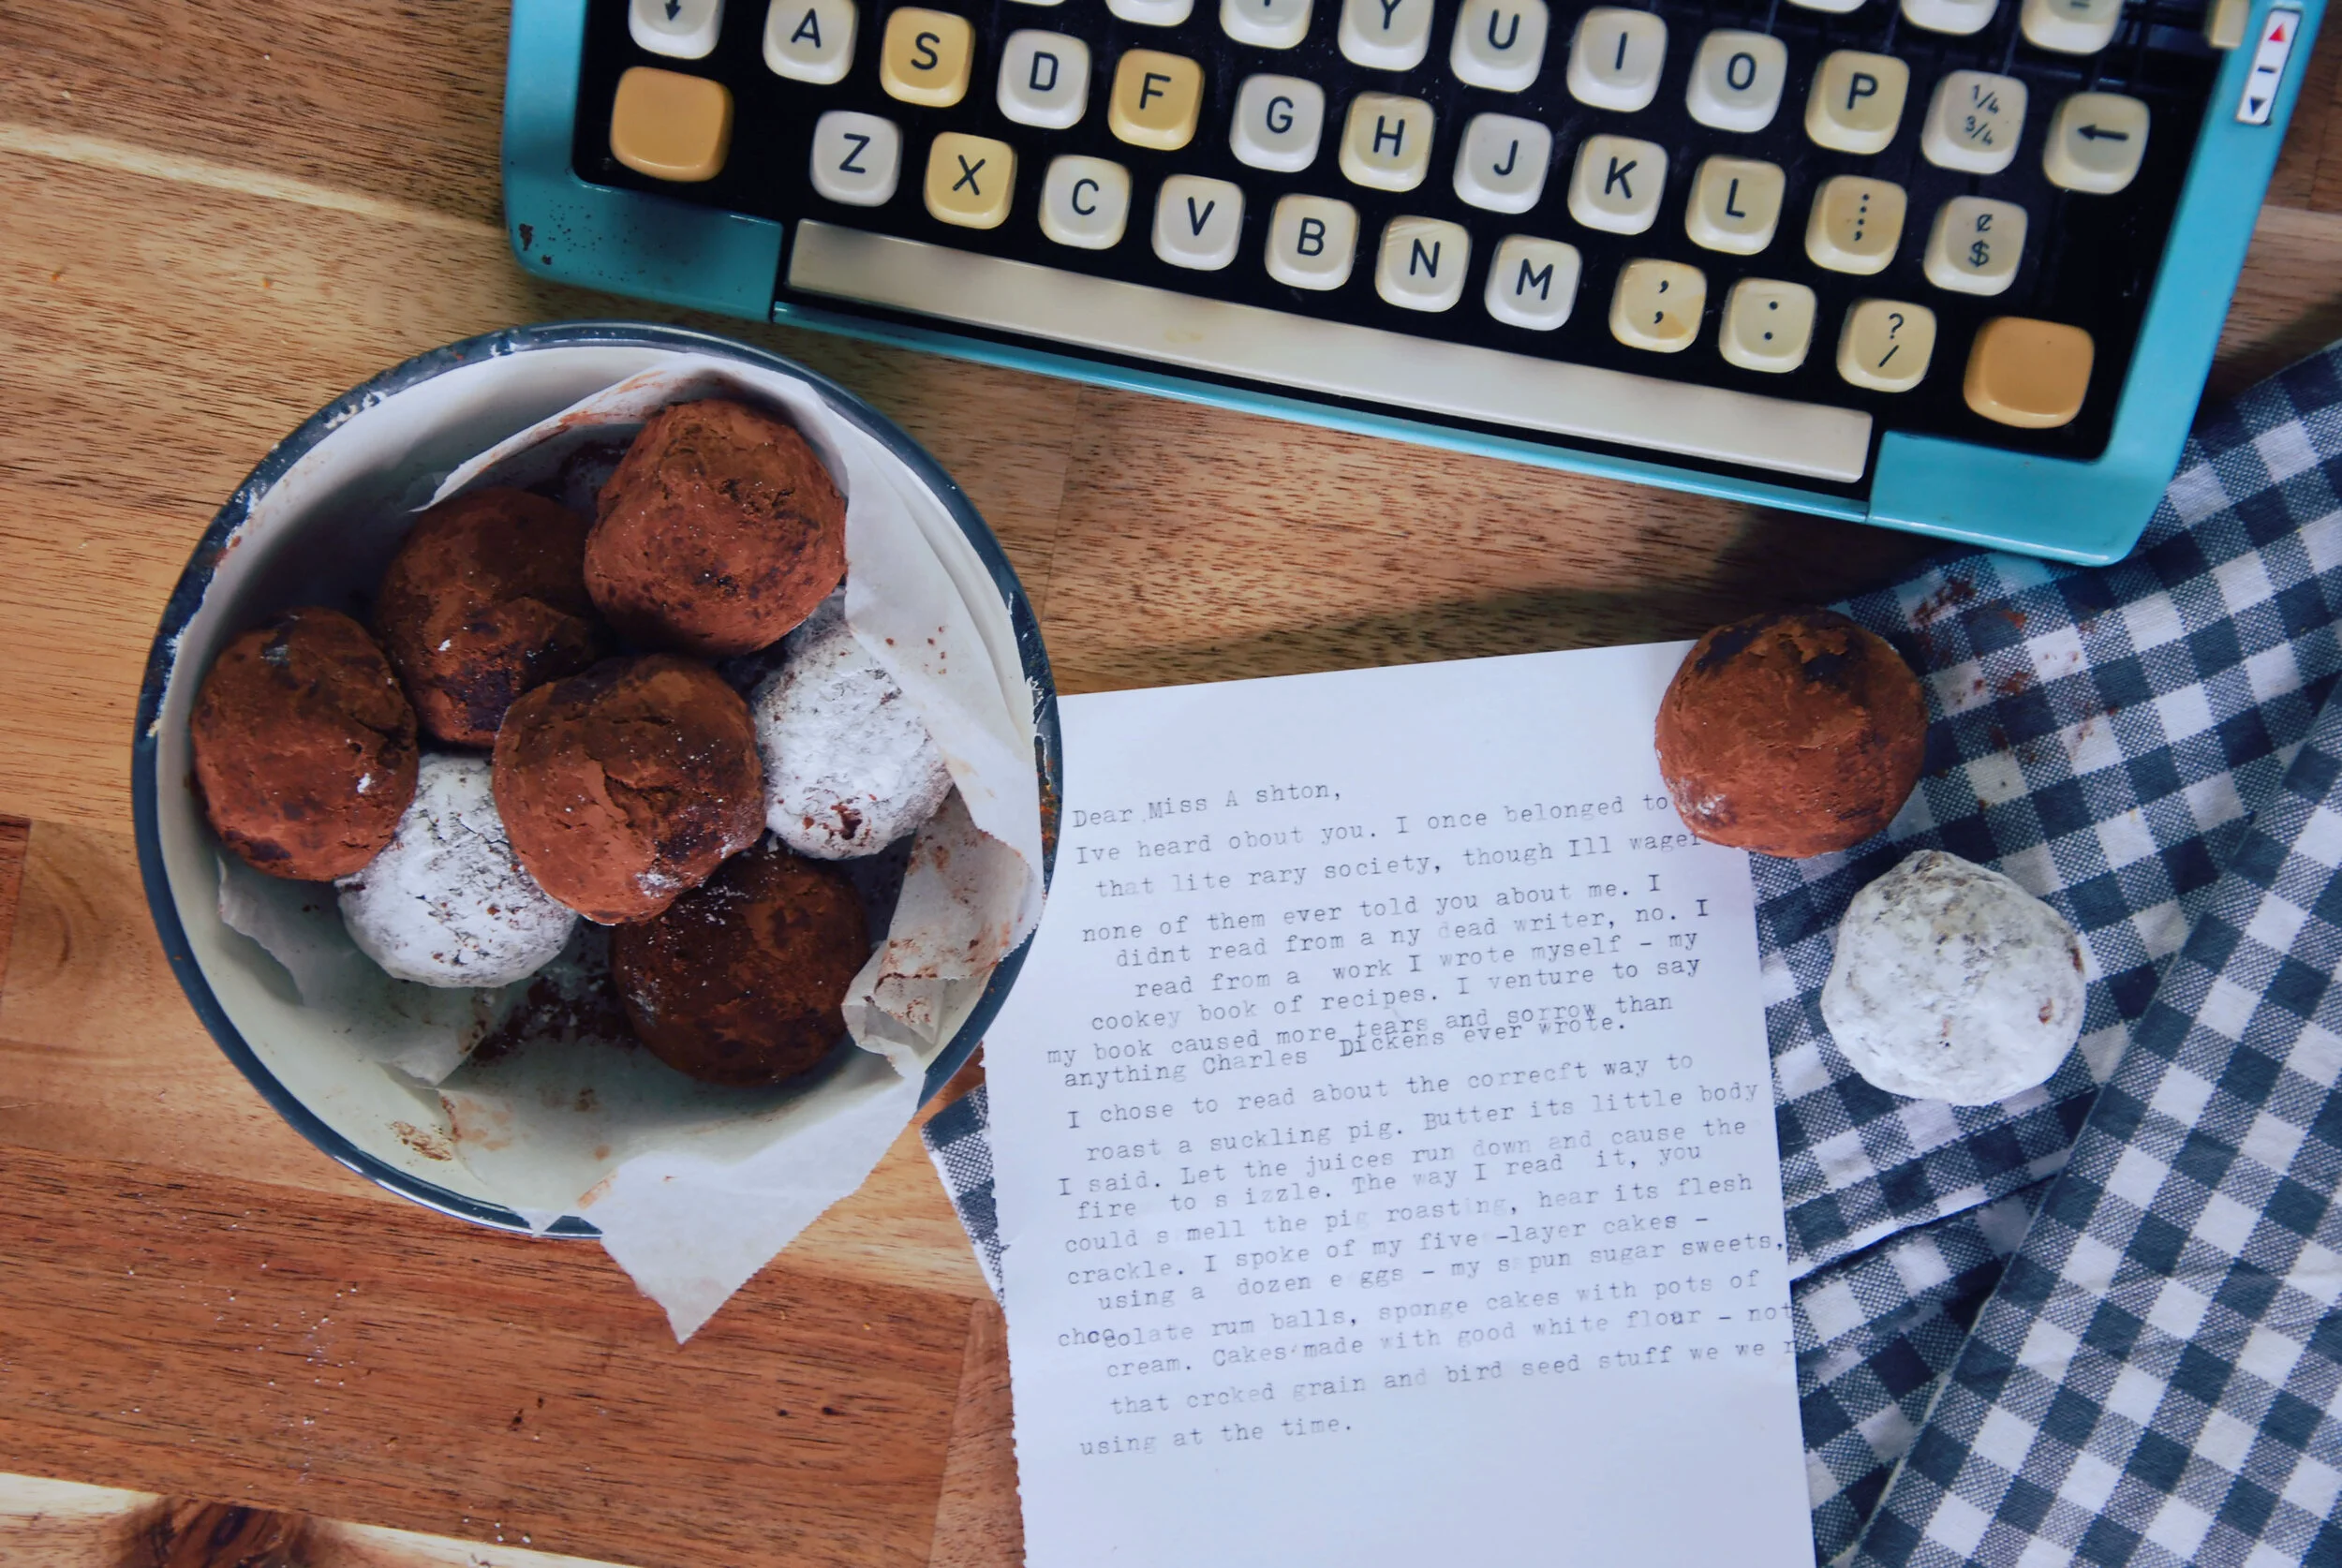
I spoke of my five-layer cakes - using a dozen eggs - my spun-sugar sweets, chocolate rum balls, sponge cakes with pots of cream. Cakes made with good white flour - not that cracked-grain and bird seed stuff we were using at the time.The Guernsey Literary and Potato Peel Pie Society, Mary Ann Shaffer, Annie Barrows
I spoke of my five-layer cakes - using a dozen eggs - my spun-sugar sweets, chocolate rum balls, sponge cakes with pots of cream. Cakes made with good white flour - not that cracked-grain and bird seed stuff we were using at the time.
The Guernsey Literary and Potato Peel Pie Society
Mary Ann Shaffer, Annie Barrows
I did the very much condemned notion of watching this movie before reading the book. The Guernsey Literary and Potato Peel Pie Society happened to come up on Netflix last year and catch my eye. It's an okay movie, but basically left me wanting to move to England and live in an island and be constantly grumpy while baking pies. Pretty much my life's goal.
I picked up the book not that long ago and sped through it on a work trip, managing to inhale the entirety of it within a single flight. It's quite simply written but delightful to read. While the notion of attempting a potato peel pie did cross my mind briefly, it soon disappeared when the description of the tantalising treats that Clara Suassey spoke of, which had her kicked out of the literary society, came to my attention on the page. Spun sugar, five-layer cakes and chocolate rum balls, an array of delicious sounding delights that immediately set my mind wandering. It settled quite firmly on chocolate rum balls - a treat that I remember as being very Australian, very much available around Christmas, and very much not containing rum. Though my memory of eating them is primarily based around the primary school years and may be a little skewed.
I wanted to step away from my childhood memory of rum balls and instead concentrate on ones that would have been most appreciated possibly on Guernsey as Clara Suassey read out loud her recipes. Ones without the outside coating of coconut, very much filled with a rich spiced rum and intensely chocolate-y.
*Note: I used coconut condensed milk and chocolate ripple biscuits for this recipe - both which happen to be plant based!
Chocolate Rum Balls
Makes approx. 12 - 16
Ingredients
1/4 cup of raisins, finely chopped
3 tbsp spiced rum
1 cup cocoa powder
2 cups desiccated coconut
250g chocolate biscuits, *see note
320g condensed milk, *see note
1/2 cup icing sugar
1 tsp vanilla extract
1/4 tsp sea salt
Combine the rum and the finely chopped raisins, set aside for around 10 - 20 minutes and let the rum soak into the raisins.
Meanwhile, using a food processor or blender, crush the chocolate biscuits until they're basically powder. A few chunks here and there are okay.
Place chocolate biscuit powder, 1/2 cup cocoa, desiccated coconut, condensed milk, rum soaked raisins, vanilla extract and sea salt in a bowl together and mix until well combined. The mixture should be firm enough to mould into a ball - if not, add a touch more cocoa.
Using the palm of your hand, roll spoonfuls of the rum ball mix into balls, placing them onto a a piece of baking paper on a tray. When all mixture has been rolled into balls place the tray into the fridge for a few hours or until mix has set.
Place the remaining cocoa and icing sugar into two seperate bowls, and roll the prepared balls into them to coat (separately that is, unless you want to combine the icing sugar and cocoa, all means go ahead). Enjoy with a good cup of tea!